

How to burn candles properly: relaxation and sustainability
Burning candles should create calm and enhance your space, yet many struggle with uneven burns, wasted wax, and disappointing fragrance throw. Whether you’re new to candle rituals or seeking to improve your experience, understanding proper burning techniques transforms your candles from simple décor into tools for mindful relaxation. This guide reveals preparation steps, best practices, and troubleshooting methods that help eco-conscious candle users maximise burn time, preserve fragrance, and enjoy sustainable luxury.
Key Takeaways
| Point | Details |
|---|---|
| Wick size matters | Choose a wick that matches the vessel diameter and test three sizes to identify the option that yields an even full melt pool within 3 to 4 hours. |
| Wick trimmed to 5mm | Trimming the wick before lighting prevents soot and mushrooming while improving burn quality. |
| One hour minimum burn | Never burn for less than one hour to establish a full melt pool and reduce tunnelling. |
| Limit burn to four hours | Do not exceed four hours per session to avoid overheating and compromised fragrance throw. |
What you need to burn candles properly
Preparing to burn candles correctly begins with understanding your candle’s anatomy and gathering the right tools. The wick size must match your vessel diameter perfectly. Testing three wick sizes helps you identify which creates a full melt pool within 3-4 hours, the sweet spot for optimal performance. Too small, and you’ll experience tunnelling. Too large, and the flame becomes unstable with excessive soot.
Essential tools make candle care straightforward. A quality wick trimmer maintains the ideal 5mm wick length, preventing mushrooming and smoke whilst improving burn quality. Wick trimming benefits extend beyond aesthetics to safety and longevity. Long matches or a refillable lighter let you reach deep into vessels without burning your fingers. A candle snuffer extinguishes flames cleanly, avoiding wax splatter and preserving the wick’s position for next time.
Wax type dramatically affects burning behaviour and environmental impact. Natural waxes like rapeseed, soy, and coconut burn cleaner than petroleum-based paraffin. European rapeseed wax offers superior performance with lower transport emissions than imported alternatives. When choosing scented candles, look for vegan, phthalate-free fragrance oils that deliver strong scent throw without compromising air quality. Premium candles typically use 8-10% fragrance oil versus 2-3% in mass-produced options, creating richer aromatic experiences. Understanding best candle wax for wellness helps align your purchases with sustainability values.
Pro Tip: Purchase three different wick sizes when making candles at home, or test commercial candles in similar vessel sizes to identify which creates the most even melt pool for your space.
Wick size and vessel diameter guide
| Vessel diameter | Recommended wick size | Expected melt pool time |
|---|---|---|
| 6-7cm | Small (cotton or wood) | 2-3 hours |
| 8-9cm | Medium (cotton or wood) | 3-4 hours |
| 10-12cm | Large or double wick | 4-5 hours |
| 13cm+ | Multiple wicks required | 5-6 hours |
Essential candle care toolkit
- Wick trimmer for precise 5mm cuts before each burn
- Long matches or refillable lighter for safe ignition
- Candle snuffer to extinguish flames without smoke
- Heat-resistant surface or candle tray for stability
- Timer to track minimum one-hour burns
Step-by-step guide to burning your candle properly
Proper candle burning follows a precise sequence that protects your investment whilst maximising sensory pleasure. Each step builds on the previous, creating conditions for clean, even combustion.
-
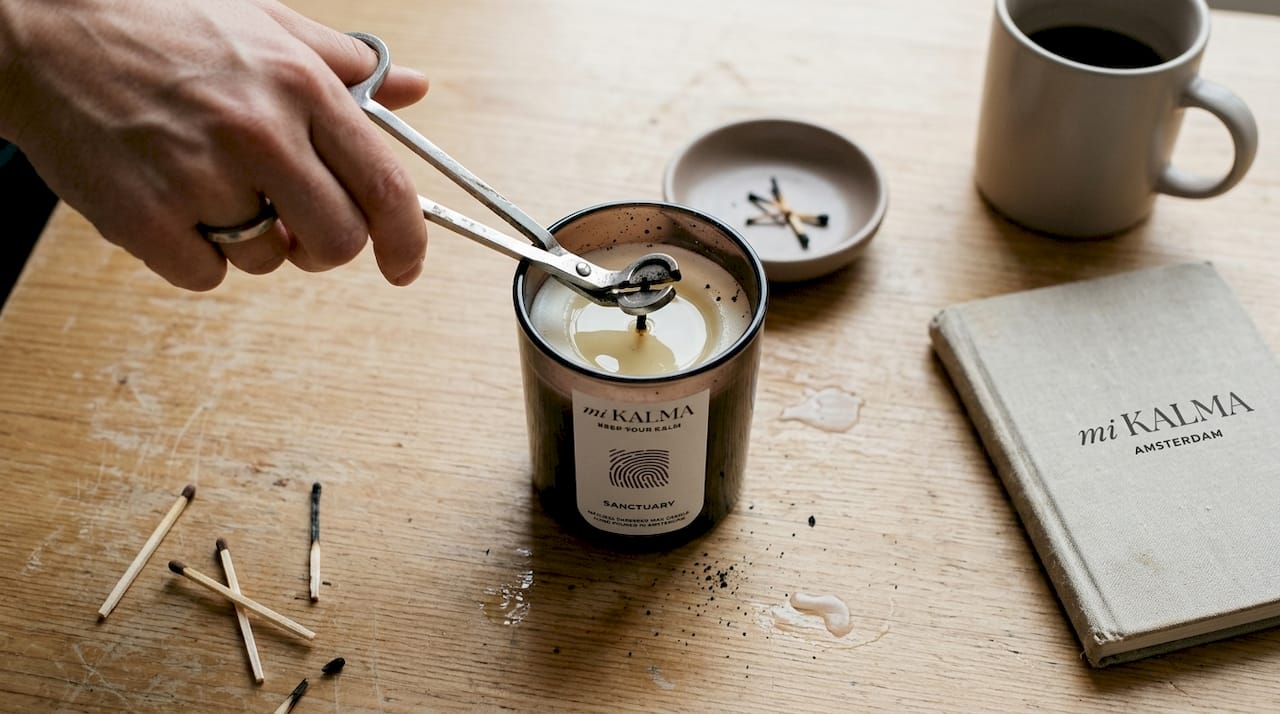
Trim the wick to 5mm before lighting. Use sharp wick trimmers to cut cleanly, removing any mushroomed carbon buildup from previous burns. This single action prevents 80% of common burning problems including soot, smoke, and flame flickering. Understanding candle trimming care transforms this simple task into a ritual.
-
Place candle on stable, heat-resistant surface. Position away from drafts, vents, and flammable materials. Ensure the surface can withstand prolonged heat without damage. Never burn candles on wooden furniture without protection.
-
Light wick and allow initial burn to create full melt pool. This critical first burn sets the candle’s memory. The wax must melt completely to the vessel edges, typically requiring 3-4 hours depending on diameter. Testing three wick sizes beforehand ensures this happens within the ideal timeframe. Rushing this step causes permanent tunnelling.
-
Monitor flame and burn duration. Never burn candles for less than one hour, as insufficient melt pools create tunnelling. Equally, avoid exceeding four hours in a single session, which can overheat the vessel and degrade wax quality. Set a timer to maintain awareness.
-
Extinguish flame properly with candle snuffer. Lower the snuffer gently over the flame until oxygen deprivation extinguishes it. This method prevents wax splatter, smoke, and wick displacement. Luxury candle trimming tips include using a wick dipper as an alternative, pushing the wick into melted wax for smokeless extinguishing.
-
Allow complete cooling before relighting. Wax needs 2-3 hours to solidify fully and return to room temperature. Relighting warm candles creates uneven burns and can crack vessels. Patience here extends candle life significantly.
-
Repeat wick trimming before next burn. Even if the wick looks acceptable, trim it. Consistency prevents gradual degradation of burn quality over the candle’s lifetime.
Pro Tip: Rotate your candle’s position 90 degrees after each burn to compensate for any slight draft or heat variations in your room, ensuring perfectly even wax consumption.
Common mistakes and how to avoid them
Even experienced candle users fall into patterns that waste wax and diminish enjoyment. Recognising these errors helps you course-correct before damage occurs.
The most destructive mistake involves insufficient initial burns. When you extinguish a candle before achieving a full melt pool, you create a memory ring. Subsequent burns follow this pattern, tunnelling downward and leaving walls of unused wax. This happens because wax only melts as far as its previous melt pool. Matching wick size to vessel prevents this by ensuring the first burn reaches the edges within 3-4 hours.
Neglecting wick maintenance creates cascading problems. Long wicks produce larger flames that consume wax too quickly, generate excessive soot, and create mushroom-shaped carbon deposits. These deposits fall into the melt pool, discolouring wax and releasing unpleasant odours. Regular use of wick trimmers eliminates this entirely. The 5mm standard exists because it balances sufficient fuel draw with controlled flame size.
Leaving candles unattended ranks as the most dangerous error. Beyond obvious fire risks, unmonitored candles can overheat, crack vessels, or ignite nearby materials. Even brief absences matter. If you must leave the room, extinguish the flame. The inconvenience of relighting pales against potential consequences.
Burning candles in drafty locations causes uneven melting and excessive flickering. Air currents push flames to one side, creating lopsided melt pools and accelerated wax consumption on that edge. Position candles away from windows, doors, fans, and air conditioning vents. Still air produces the cleanest, most efficient burn.
Correct versus incorrect burning behaviours
| Correct practice | Incorrect practice | Impact of mistake |
|---|---|---|
| Burn 3-4 hours for full melt pool | Burn 30 minutes then extinguish | Creates tunnelling and wastes 40% of wax |
| Trim wick to 5mm before each use | Never trim wick | Produces soot, smoke, and unstable flame |
| Use snuffer to extinguish | Blow out flame | Causes wax splatter and wick displacement |
| Position away from drafts | Place near window or vent | Results in uneven melting and rapid consumption |
| Allow 2-3 hours cooling | Relight whilst still warm | Cracks vessels and degrades wax structure |
Practical tips to avoid burning errors
- Set phone reminders for minimum one-hour burn times to prevent premature extinguishing
- Keep wick trimmers beside your candle storage for convenient pre-burn maintenance
- Choose vessels with wider diameters for faster melt pool formation if you have limited burning time
- Inspect candles before lighting for debris, wick alignment, and previous burn quality
- Invest in quality candles with properly sized wicks rather than troubleshooting poorly made products
- Follow guidance on choosing candles to start with well-constructed options
Expected results and how to care for your candle after burning
When you burn candles correctly, the transformation becomes immediately apparent. The melt pool extends evenly to vessel edges, releasing fragrance molecules uniformly throughout your space. Scent throw intensifies as the full wax surface area participates in evaporation. You’ll notice stronger, more consistent aromas compared to tunnelled candles where only a small central pool releases fragrance.
Burn time extends dramatically with proper technique. A candle burned correctly from first light can last 30-40% longer than one subjected to poor practices. The wax consumption rate remains steady rather than accelerating as tunnelling worsens. This efficiency means fewer purchases and reduced environmental impact, aligning with sustainable living values.
Flame quality improves noticeably. Properly trimmed wicks produce steady, teardrop-shaped flames approximately 2-3cm tall. The flame dances gently without flickering wildly or smoking. Clean combustion creates minimal soot, keeping your vessel glass clear and your air quality high. You’ll breathe easier knowing premium candles with natural waxes and quality fragrance oils contribute to rather than detract from your wellbeing.
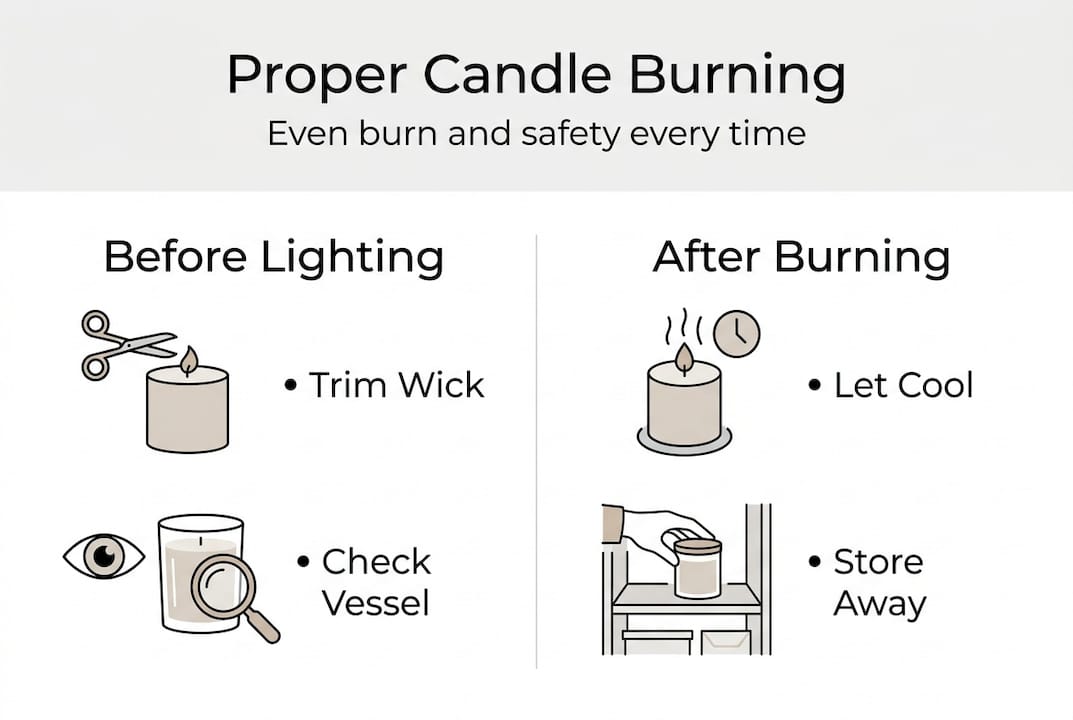
Afterbirth care preserves these benefits between burns. Once extinguished, resist touching the vessel until completely cool. Hot wax can burn skin, and disturbing the cooling process creates surface imperfections. After solidification, check for debris like wick trimmings or dust that may have fallen into the wax. Remove any foreign material with tweezers to prevent it burning during the next session.
Store candles away from direct sunlight and heat sources. UV exposure fades colours and degrades fragrance oils, whilst heat can soften wax and cause misshapen candles. A cool, dark cupboard maintains optimal condition. If you live in warm climates, consider refrigerating candles during summer months to prevent melting.
Pro Tip: Use a wick dipper tool to push the lit wick into melted wax, coating it completely before releasing. This extinguishes the flame instantly without smoke whilst priming the wick for the next burn.
Aftercare checklist for candle longevity
- Allow 2-3 hours cooling time before moving or covering candle
- Remove any debris from wax surface using clean tweezers
- Store in cool, dark location away from temperature fluctuations
- Keep dust covers or lids on candles between uses to protect fragrance
- Inspect wick position and trim before each subsequent burn
- Track total burn hours to know when candle approaches end of life
- Consider using scented candles for wellness as part of intentional self-care routines
Discover premium candles for mindful relaxation
Now that you understand proper burning techniques, consider how premium, sustainably crafted candles elevate your experience. mi KALMA creates luxury candles in small batches in Amsterdam using 100% natural European rapeseed wax. This renewable crop delivers cleaner, longer burns than imported alternatives whilst reducing transport emissions. After extensive testing, rapeseed wax proved superior for scent throw and burn stability.
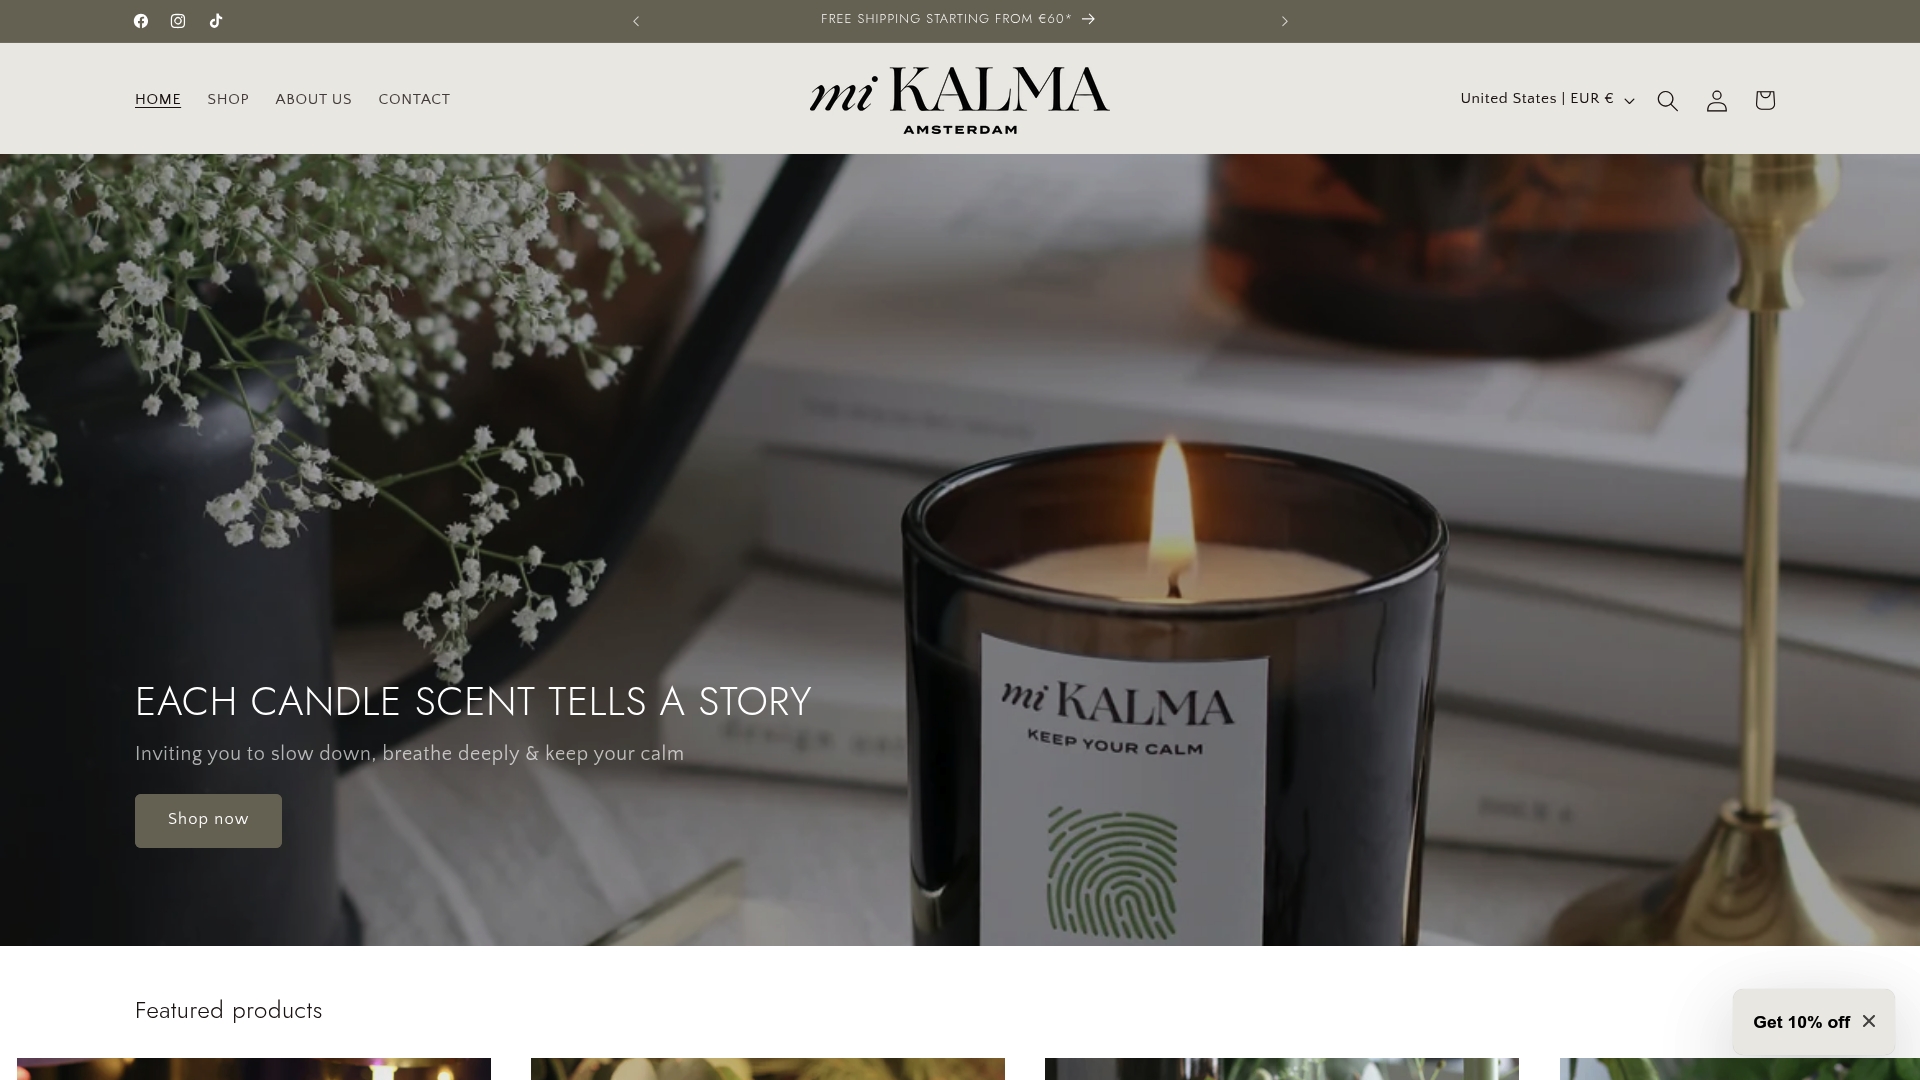
Each candle contains 10% vegan, phthalate-free fragrance oil designed in France specifically for optimal candle performance. This concentration delivers room-filling aroma that mass-produced candles using 2-3% fragrance cannot match. The Sanctuary scented candle and Floral Whisper scented candle exemplify this commitment to quality and sustainability. Explore the complete mi KALMA candle collection to find scents that resonate with your wellness rituals. When you combine expert burning practices with thoughtfully crafted candles, you create moments of genuine calm and connection.
Frequently asked questions about burning candles properly
How often should I trim the candle wick?
Trim your wick to 5mm before every single burn without exception. This prevents mushrooming, reduces soot, and maintains optimal flame size. Using quality wick trimmers makes this quick ritual effortless and protects your investment.
Can burning a candle too long damage it?
Yes, burning beyond four hours in one session overheats the vessel and can crack glass or ceramic. Extended burns also degrade wax structure and accelerate fragrance evaporation, reducing overall candle lifespan. Limit sessions to 3-4 hours maximum.
What is the safest way to extinguish a candle?
Use a candle snuffer to deprive the flame of oxygen, or employ a wick dipper to push the wick into melted wax. Both methods prevent wax splatter, smoke, and wick displacement. Never blow out candles, as this creates mess and potential safety issues.
How to tell if wick size is right for my candle?
The correct wick creates a full melt pool reaching vessel edges within 3-4 hours. If wax tunnels down the centre, your wick is too small. If the flame grows excessively large or produces smoke, the wick is too large. Quality candles come pre-sized correctly.
Are eco-friendly candles different in burning requirements?
Natural wax candles follow the same burning principles but often perform better with proper care. They typically have lower melting points than paraffin, making full melt pools easier to achieve. When you choose candles for eco-friendly wellness, you gain cleaner burns alongside environmental benefits. The core practices of wick trimming, adequate burn time, and proper extinguishing remain universal regardless of wax type.
Recommended
- Why artisanal candle making matters for wellness – mi KALMA
- Candle aroma therapy explained: science and sustainability – mi KALMA
- How to choose candles for eco-friendly wellness in 2026 – mi KALMA
- How candles enhance self-care and relaxation in 2026 – mi KALMA
- Come creare la bottiglia della calma: guida passo passo per ridurre lo – Sara Conti